BLOG, Culture Malu Bonifacio 2020-02-04 BLOG, Culture Malu Bonifacio 2020-02-04 Canadian Tourist Visa for Philippine Passport Holders Read More BLOG, Culture Malu Bonifacio 2020-01-28 BLOG, Culture Malu Bonifacio 2020-01-28 Filipino Canadians in Canada Read More BLOG, Culture 2019-12-31 BLOG, Culture 2019-12-31 Top 5 Filipino New Year's Traditions Read More
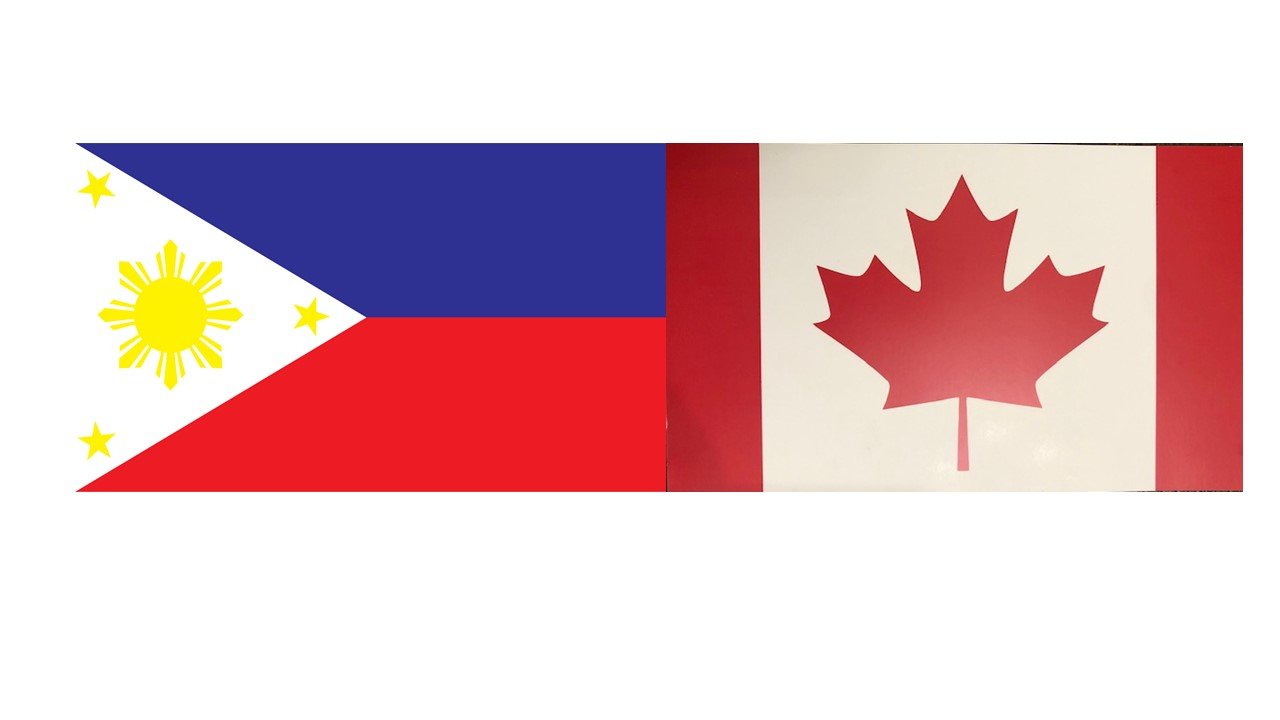
BLOG, Culture Malu Bonifacio 2020-02-04 BLOG, Culture Malu Bonifacio 2020-02-04 Canadian Tourist Visa for Philippine Passport Holders Read More
BLOG, Culture Malu Bonifacio 2020-01-28 BLOG, Culture Malu Bonifacio 2020-01-28 Filipino Canadians in Canada Read More