Recipes, BREAD Malu Bonifacio 2022-02-06 Recipes, BREAD Malu Bonifacio 2022-02-06 Chocolate Cinnamon Rolls Read More Recipes, BREAD Malu Bonifacio 2021-06-07 Recipes, BREAD Malu Bonifacio 2021-06-07 Ensaymada with Cream Cheese Filling Read More Recipes, BREAD Malu Bonifacio 2021-06-03 Recipes, BREAD Malu Bonifacio 2021-06-03 Chocolate Banana Streusel Cake Read More Recipes, BREAD Malu Bonifacio 2021-05-21 Recipes, BREAD Malu Bonifacio 2021-05-21 Coconut Almond Twists Read More Recipes, BREAD Malu Bonifacio 2021-05-02 Recipes, BREAD Malu Bonifacio 2021-05-02 Garlic Bread Read More Recipes, BREAD Malu Bonifacio 2021-02-13 Recipes, BREAD Malu Bonifacio 2021-02-13 Braided Cinnamon Roll braided cinnamon roll Read More Older Posts
Recipes, BREAD Malu Bonifacio 2022-02-06 Recipes, BREAD Malu Bonifacio 2022-02-06 Chocolate Cinnamon Rolls Read More
Recipes, BREAD Malu Bonifacio 2021-06-07 Recipes, BREAD Malu Bonifacio 2021-06-07 Ensaymada with Cream Cheese Filling Read More
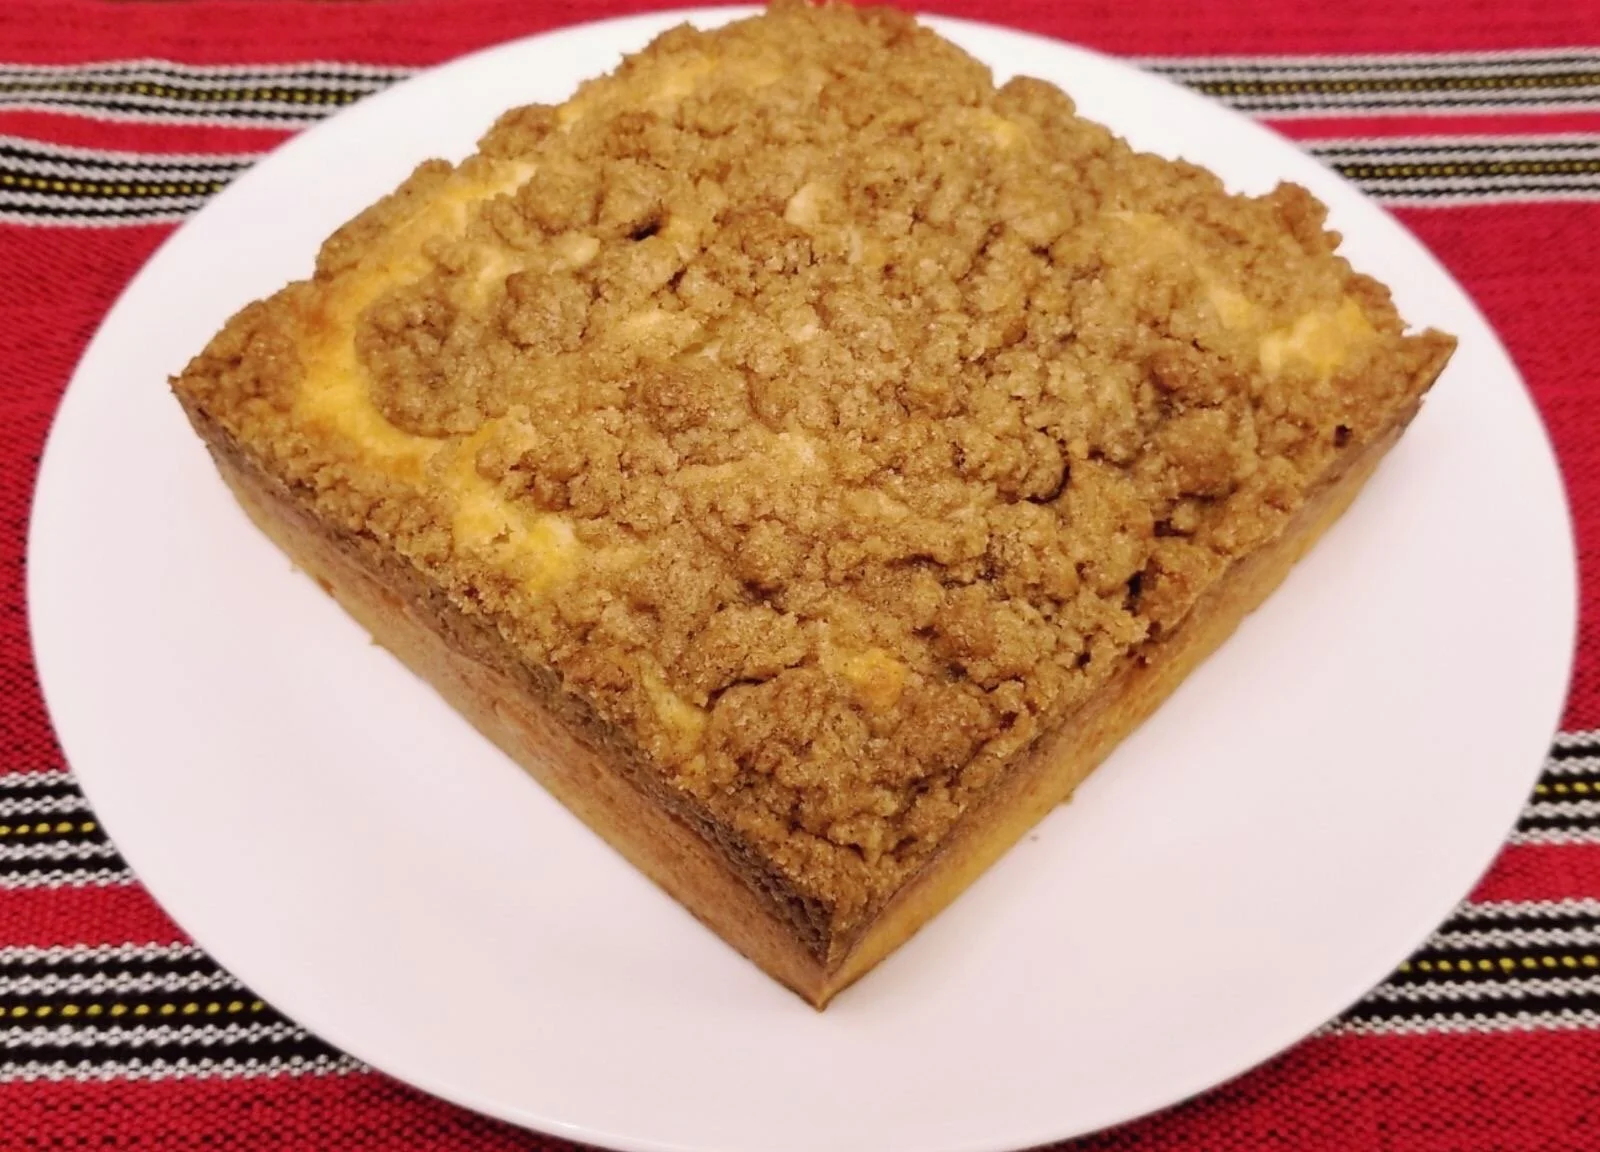
Recipes, BREAD Malu Bonifacio 2021-06-03 Recipes, BREAD Malu Bonifacio 2021-06-03 Chocolate Banana Streusel Cake Read More
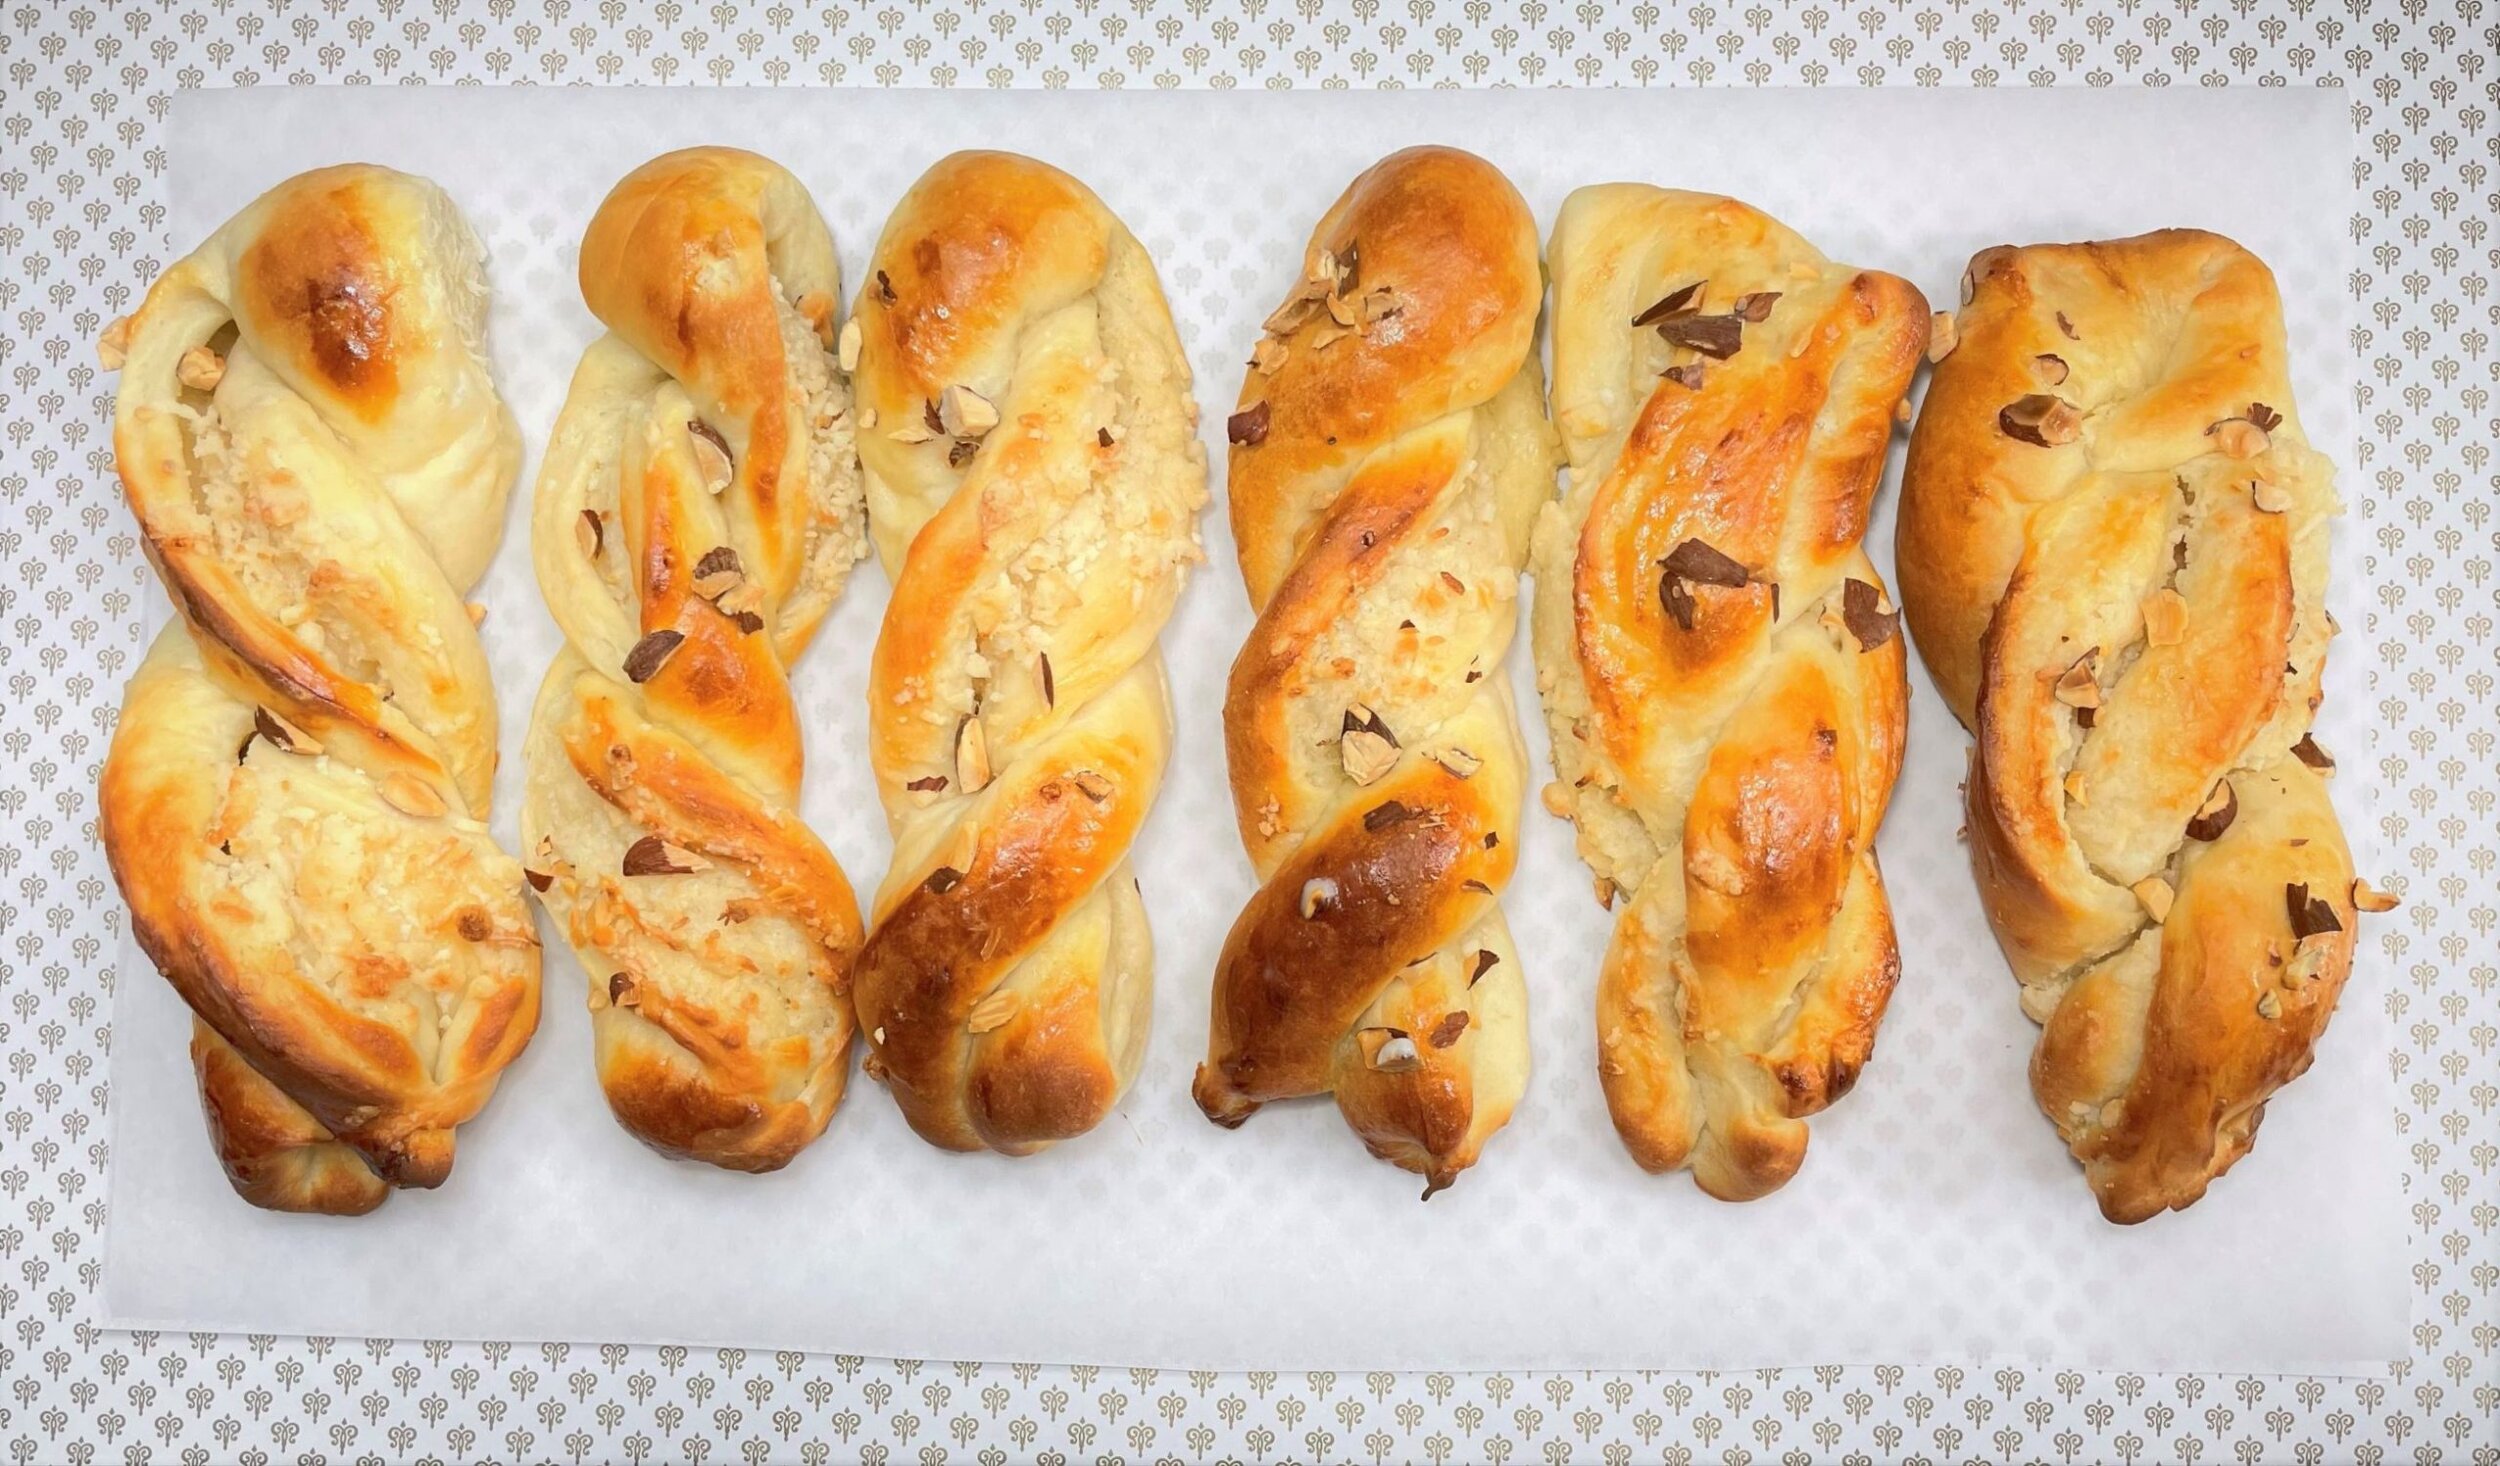
Recipes, BREAD Malu Bonifacio 2021-05-21 Recipes, BREAD Malu Bonifacio 2021-05-21 Coconut Almond Twists Read More
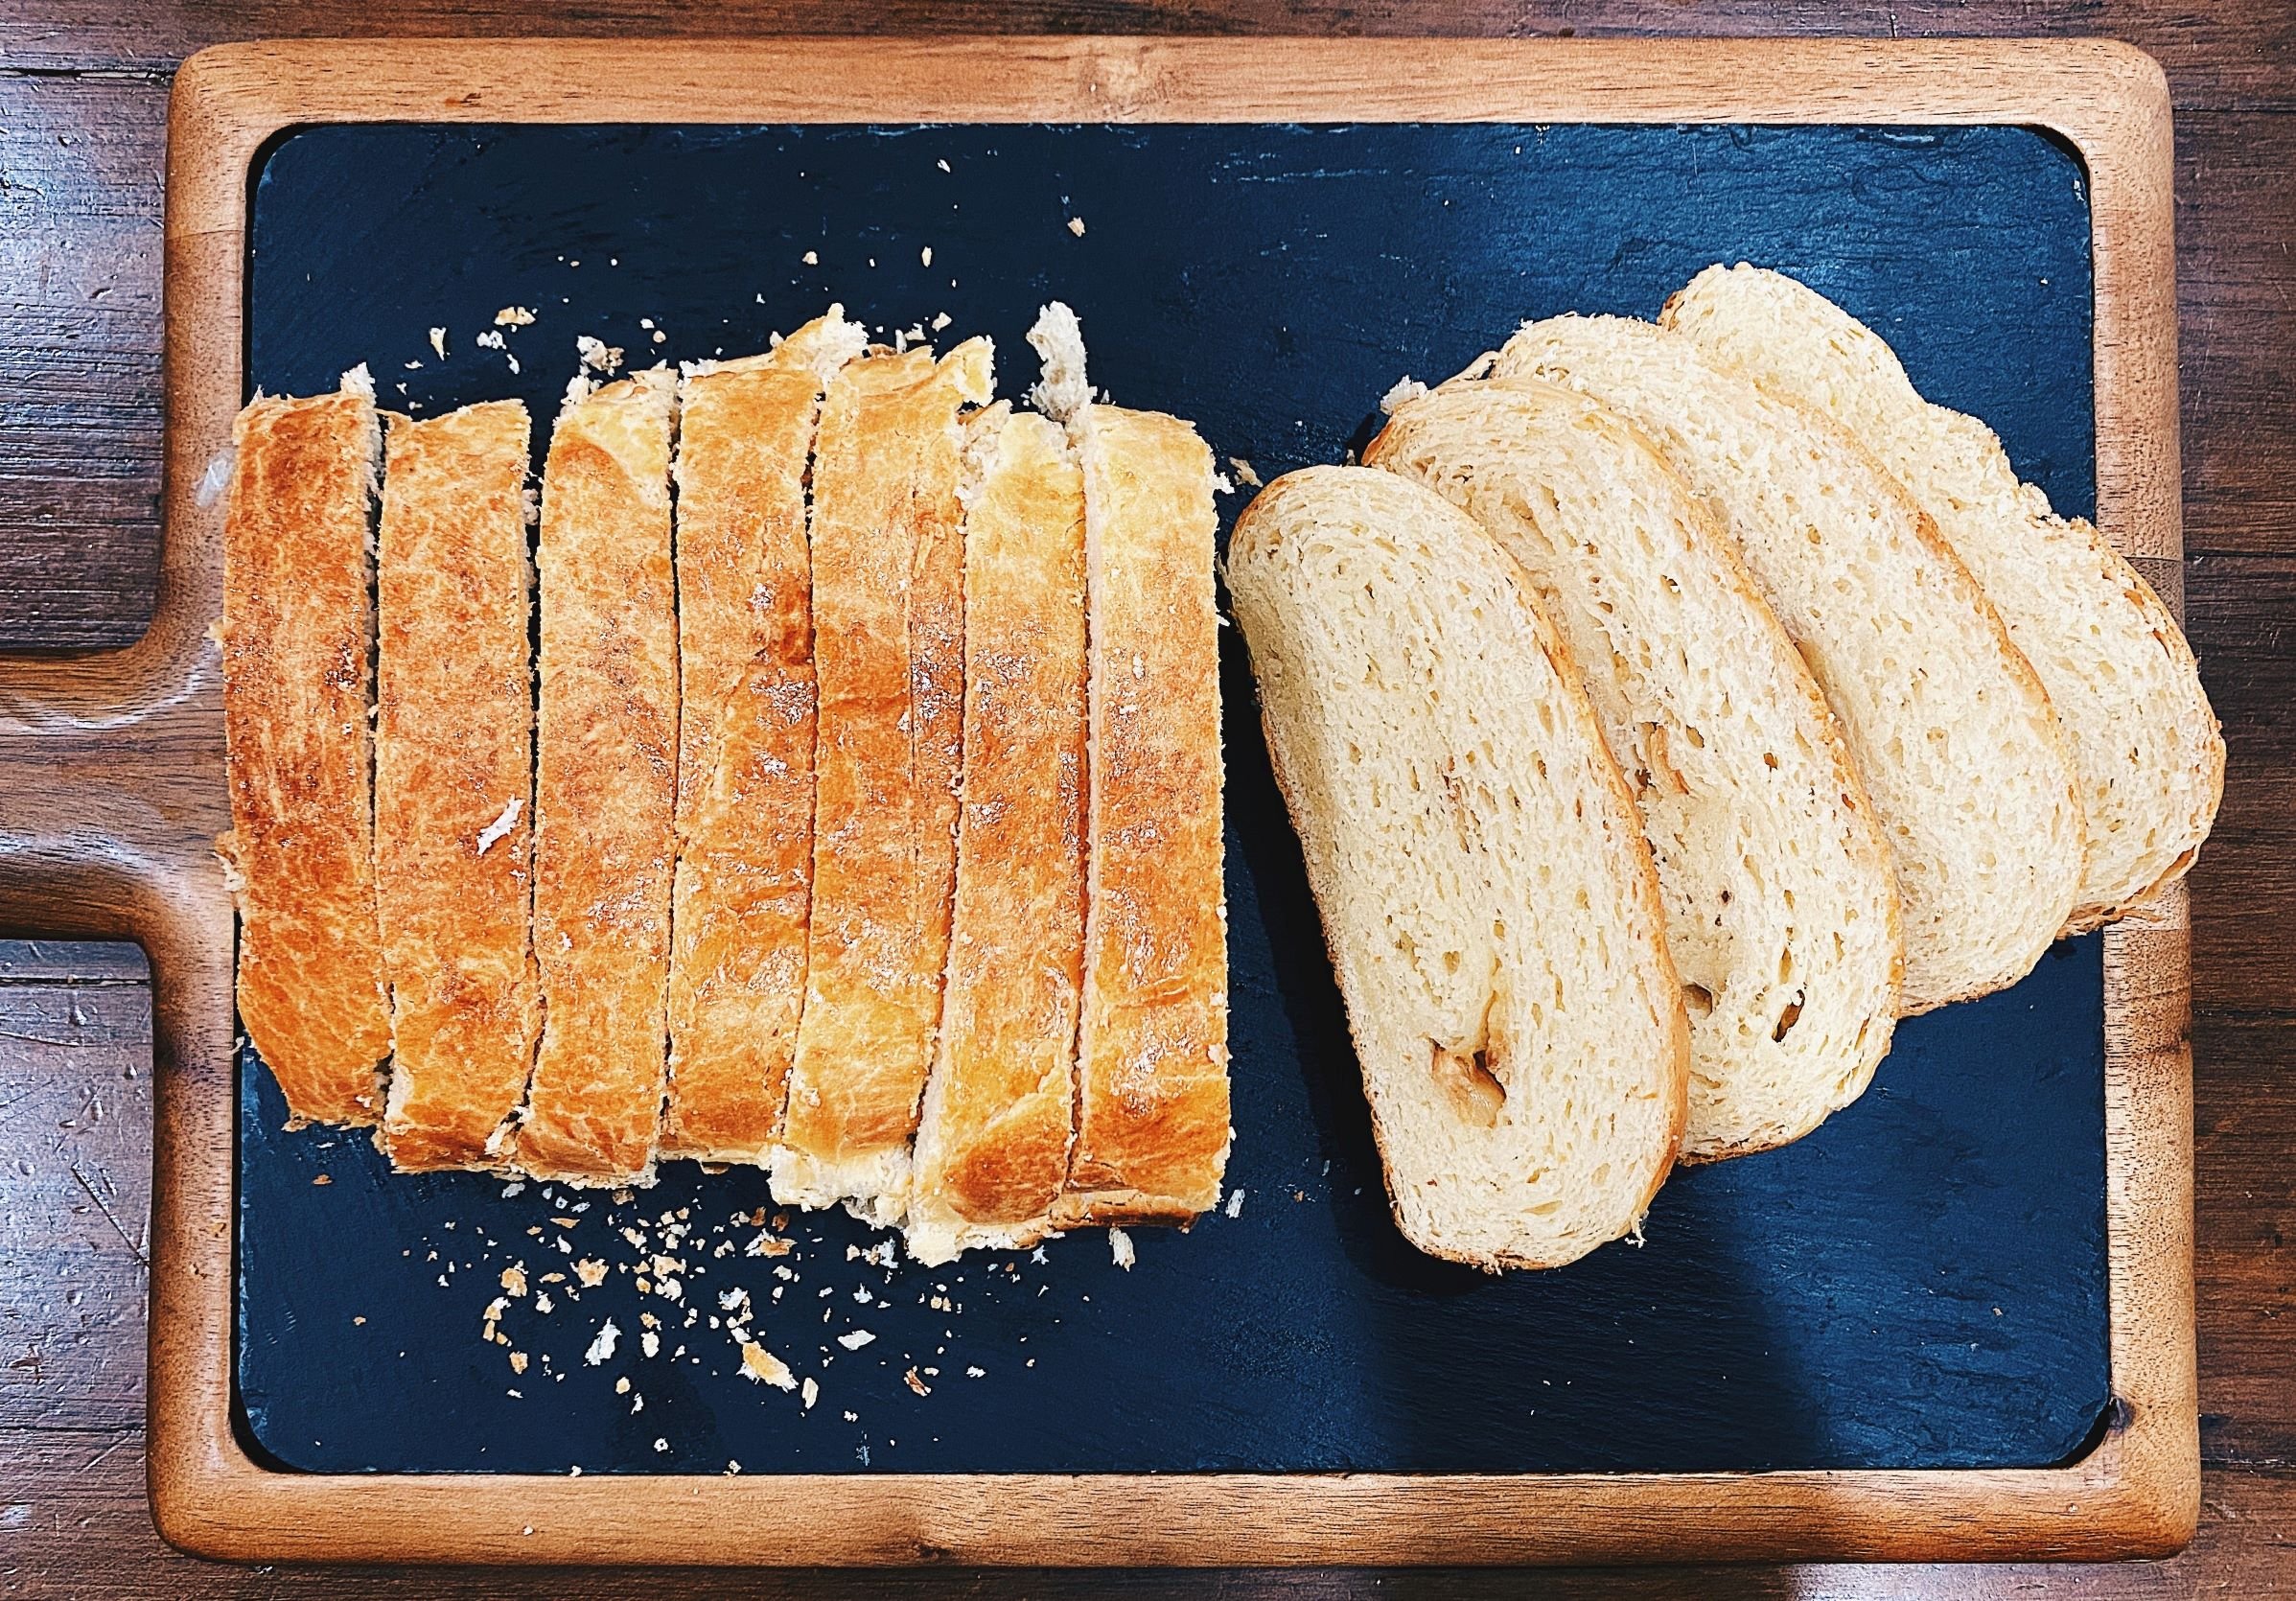
Recipes, BREAD Malu Bonifacio 2021-05-02 Recipes, BREAD Malu Bonifacio 2021-05-02 Garlic Bread Read More
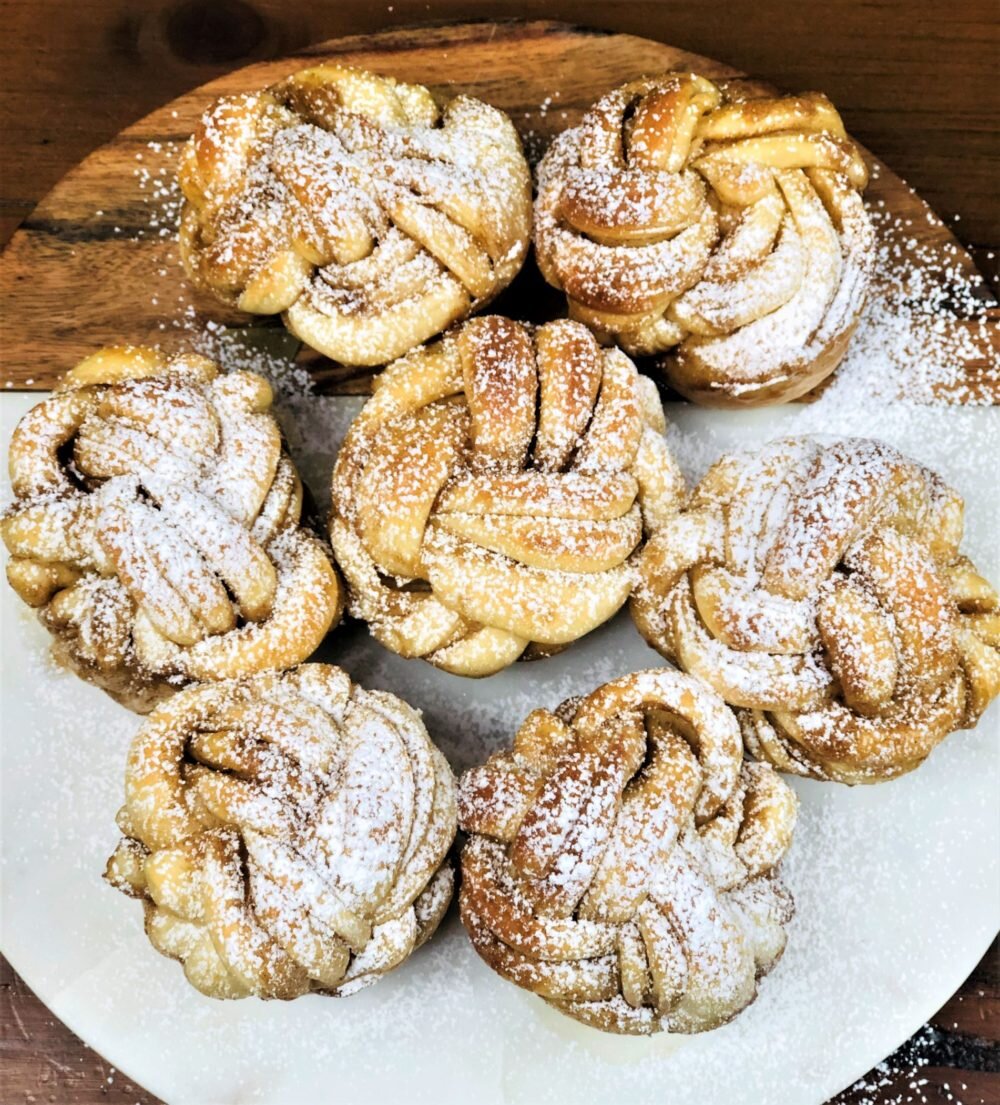
Recipes, BREAD Malu Bonifacio 2021-02-13 Recipes, BREAD Malu Bonifacio 2021-02-13 Braided Cinnamon Roll braided cinnamon roll Read More